
Time for pistons to get cranking
If you’re up to date with our build blog you’ll know that I blew up my previous engine and there was no real hope for resurrecting it.
I took my crank and pistons to a few engine builders who all unanimously advised me to start with a fresh engine.
So with my bent crank in hand I hit the forums, ebay and facebook looking for a new engine.

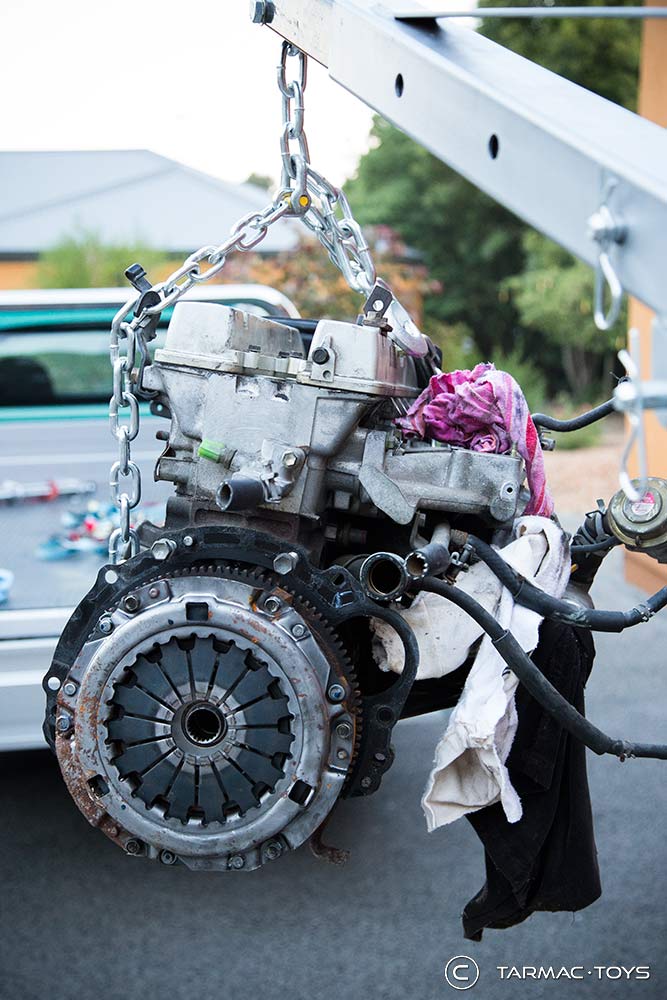
The replacement engine
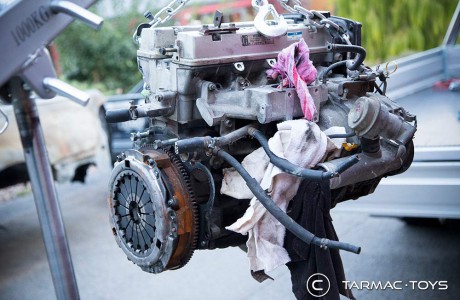
I was lucky enough to be directed to a bloke who had a 4agze engine which he’d originally bought for a rebuild. It had been sitting still for several years so I knew that the “best practice” approach would be required.
I bough the engine, took it home and stripped it.
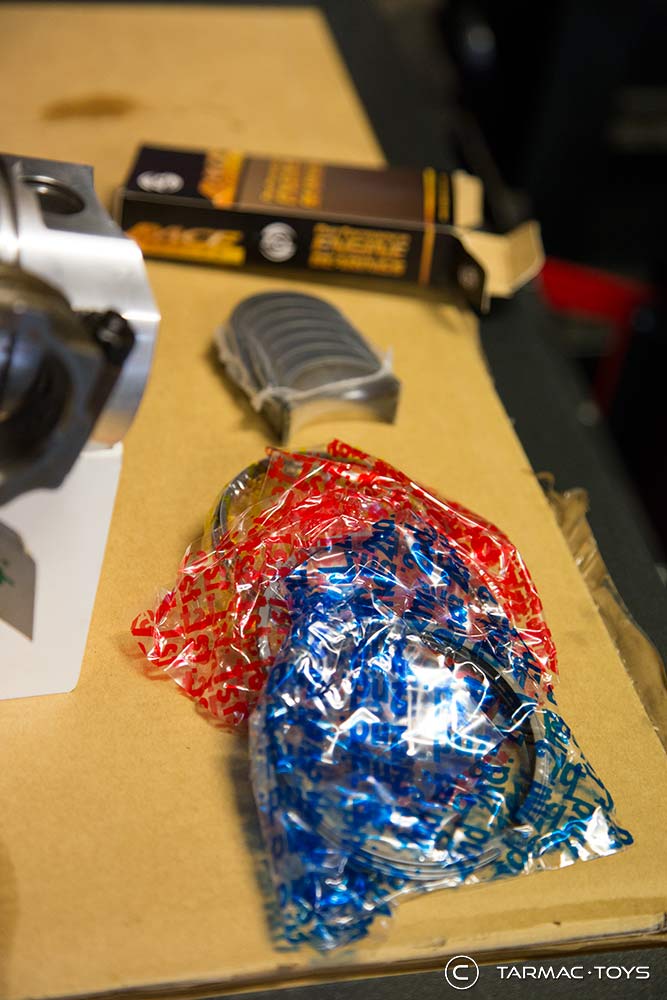
I organised via ebay to buy all the new gaskets, piston rings and engine bearings.
During the time it took for the bits to arrive (from the US and UK mainly), I had my new crank, block and head crack tested honed and machined.
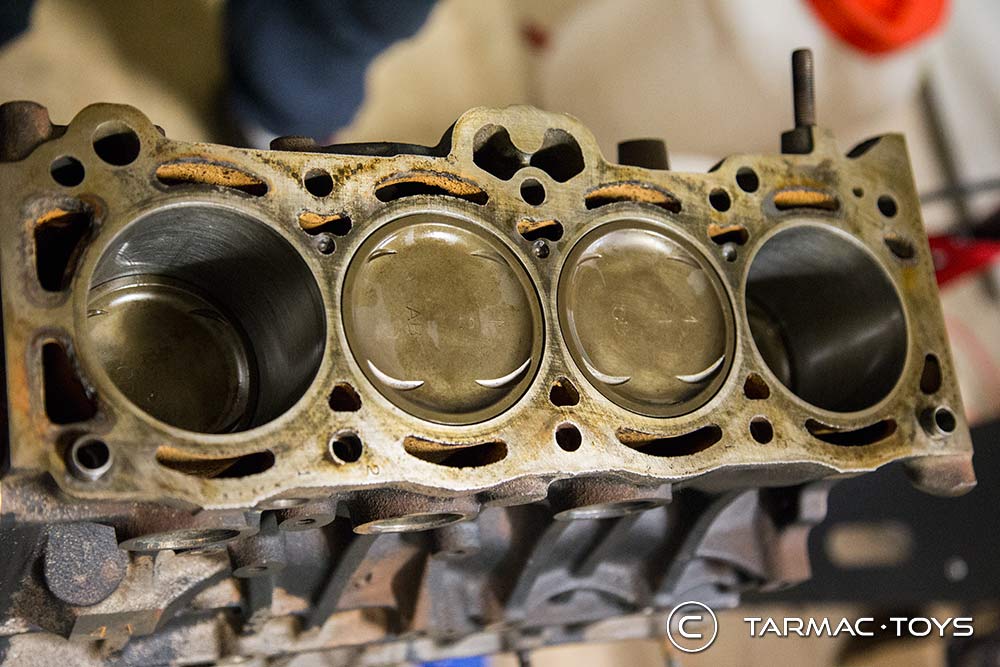
So with all the parts in my hands and the work shop manual open to “piston and crank installation” i began.
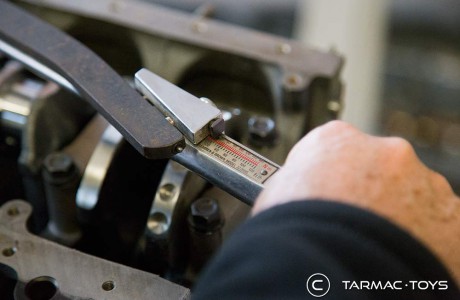
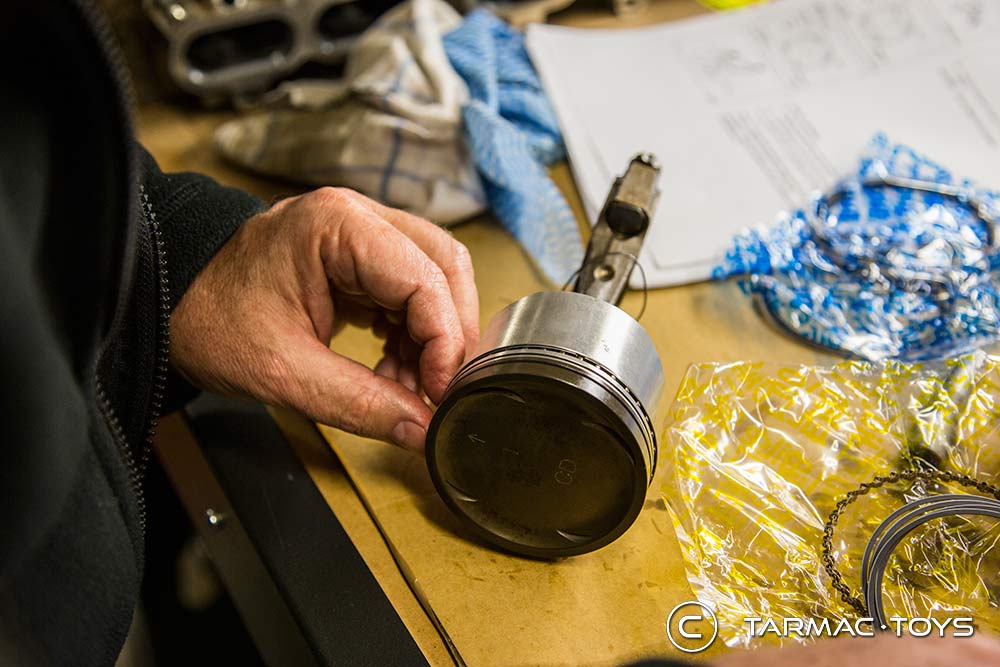
From the onset I used our vernier caliper to determine that i only needed to order standard sized bearings and piston rings. This meant that stage one was just confirming my educated guess with plasti-gague and proceeding.
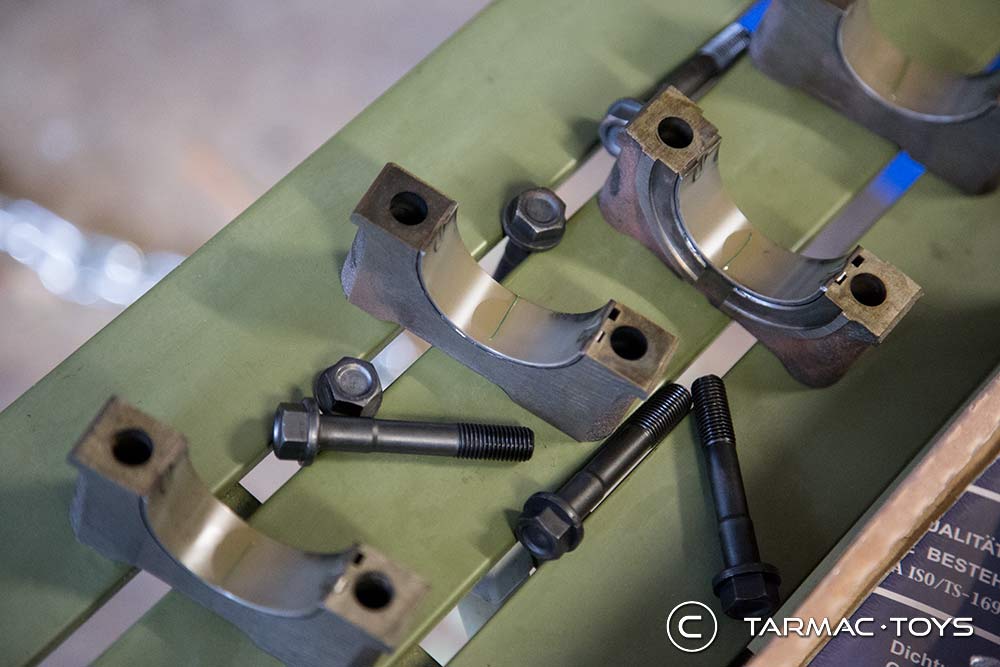
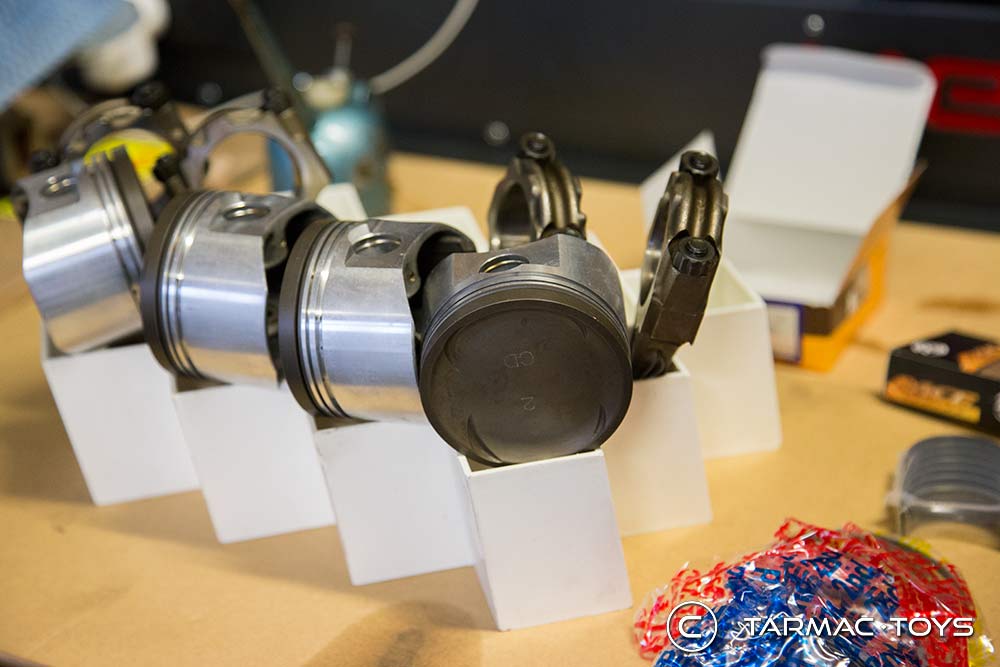
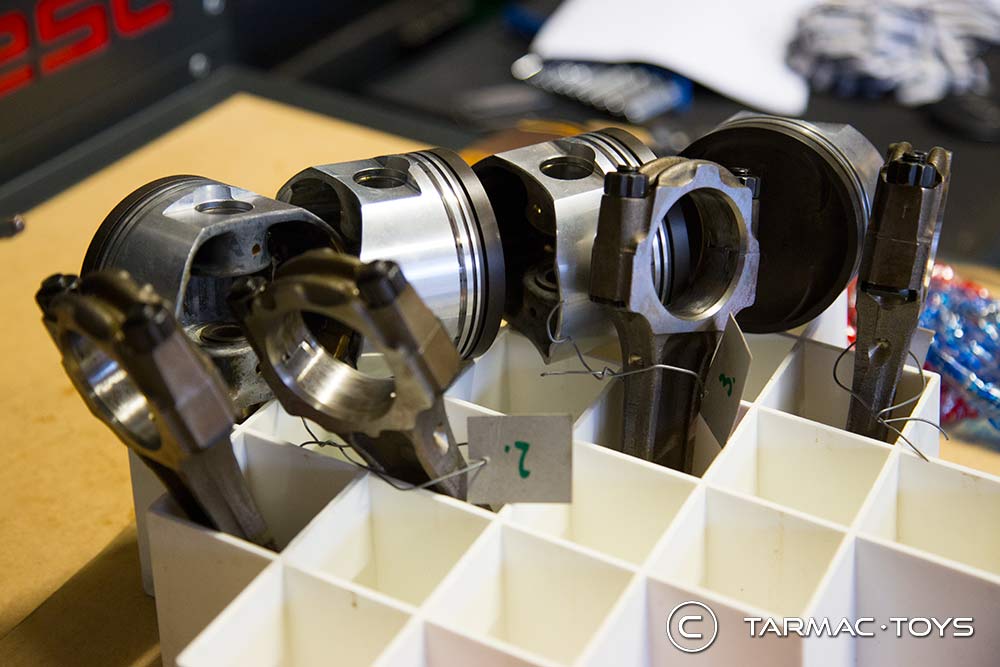
Ready for assembly
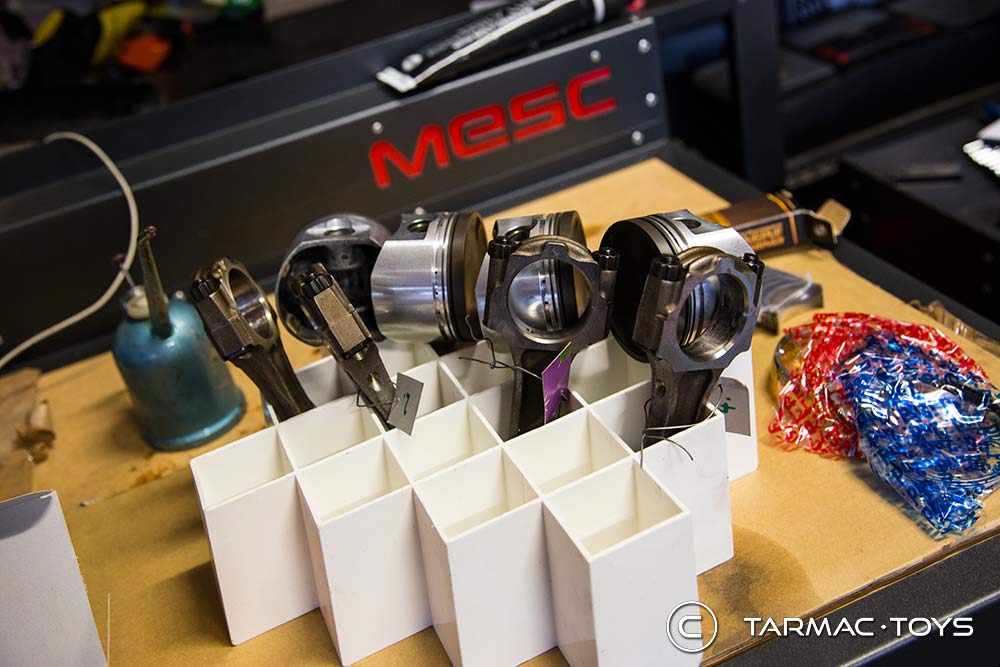
The piston rings took a bit of a knack to get right with lots of different positions for the joins to end. I kept all my piston parts in a segmented plastic box and labeled them accordingly.
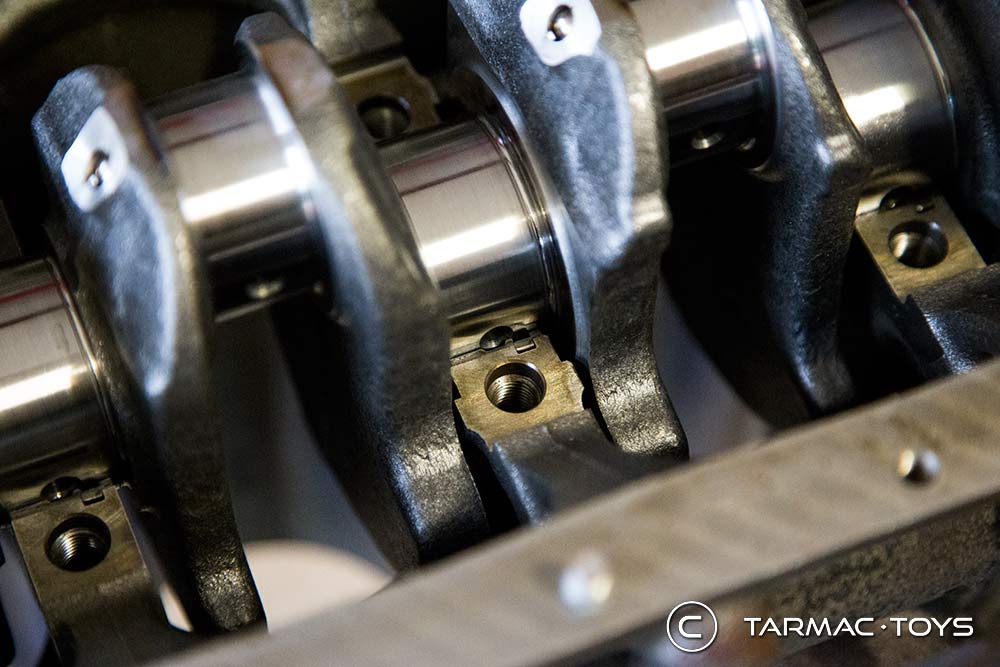
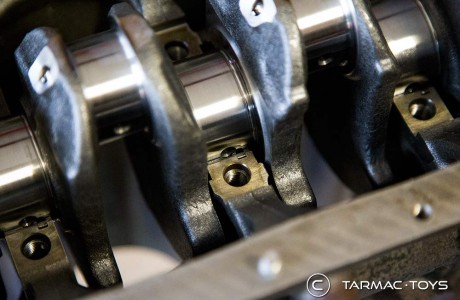
Fitting the crank was a walk in the park. I oiled all the journals and installed the bottom halves of the bearings. I then oiled the opposing face and installed the crank, then oiled and installed the top bearings and the final journals.
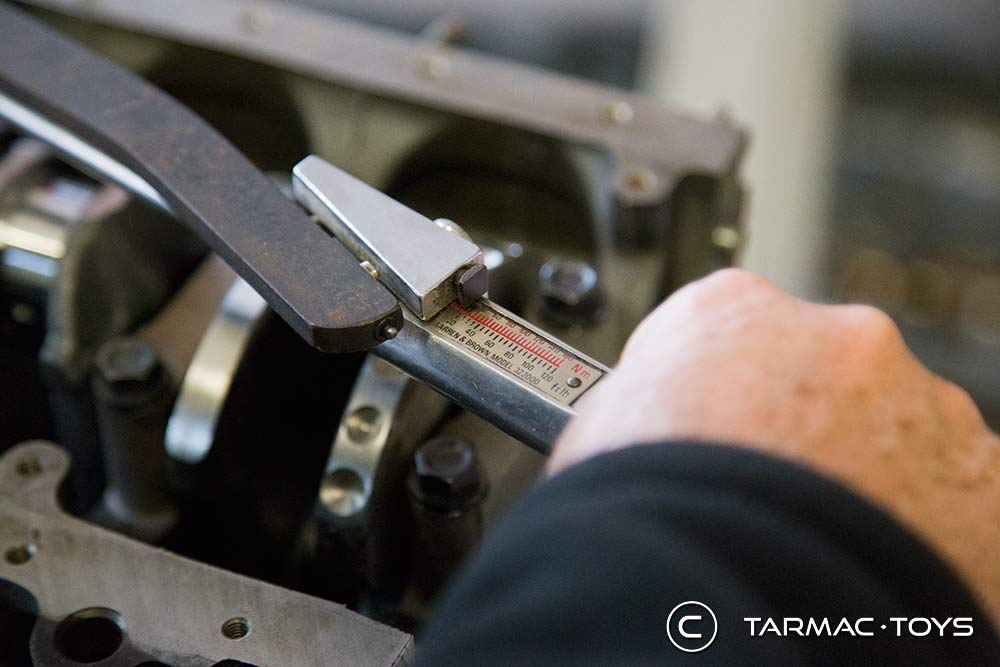
At this point you need to carefully read the sequence to tighten the bearings and make sure its torqued properly. Remember to oil your bolts!
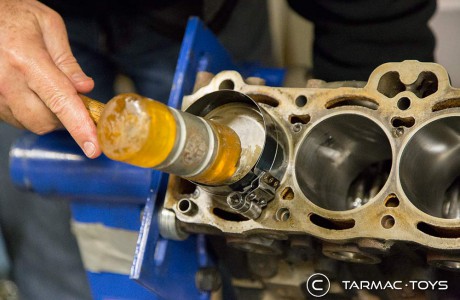
Tipping the engine 180, it was now time to install the pistons. I oiled the pistons and compressed the rings using a purpose built compression tool.
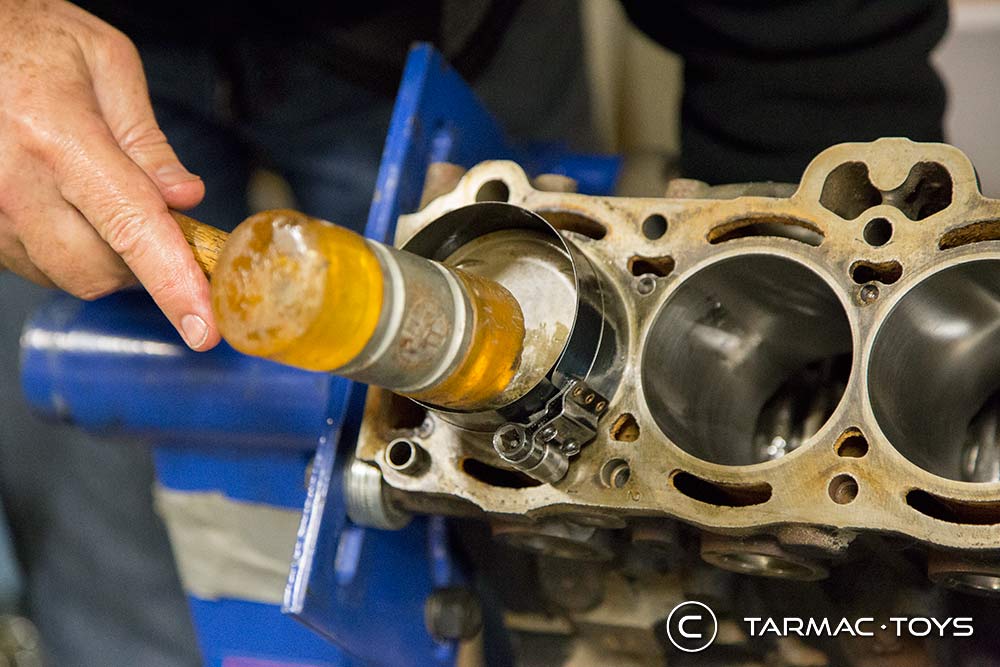
Just tap it in..
Being very careful to ensure that the piston bearing was correctly fitted I slid the piston home inside the bore. Lightly tapping with the with rubber mallet and reaching underneath to guide the piston to its final position (preventing the thread from hitting the crank). Install the other half and bearing, tighten to the specified torque and repeat the process 3 more times.
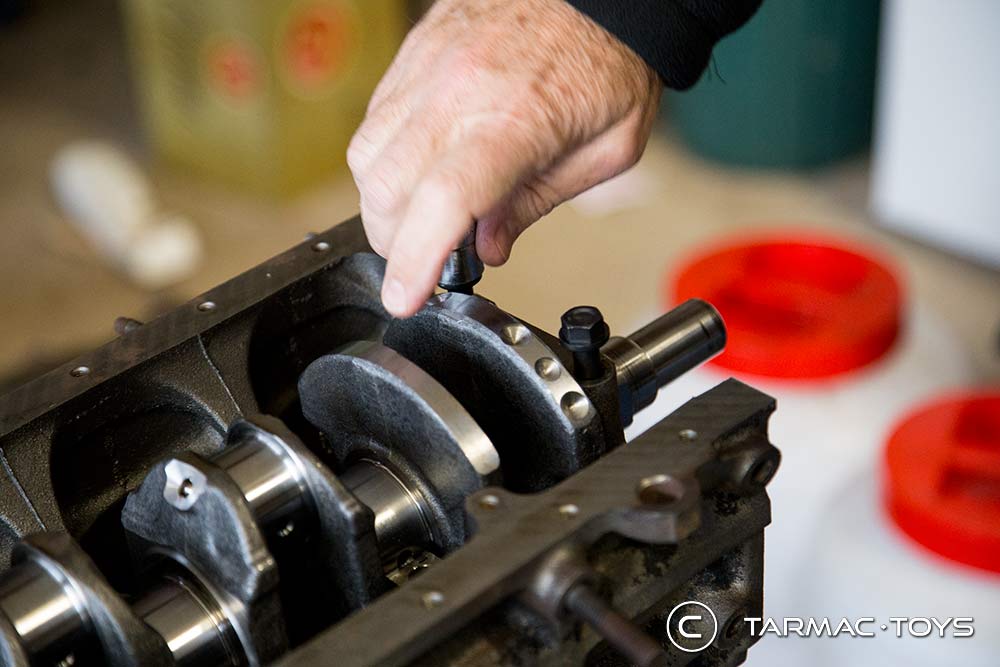
Once this was complete I was able to turn the crank and get the satisfying rotation of the pistons, lovely!

-

- fit all the bolts before tightening them
-
- Ready for assembly
-
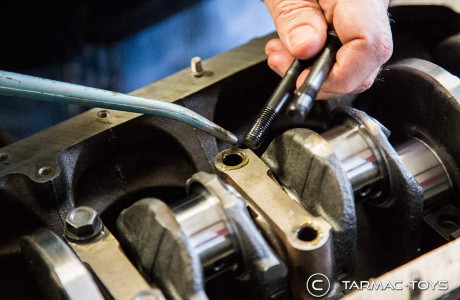
- remember to oil your bolts before installation

-
- use the torque sequence in the workshop manual

-
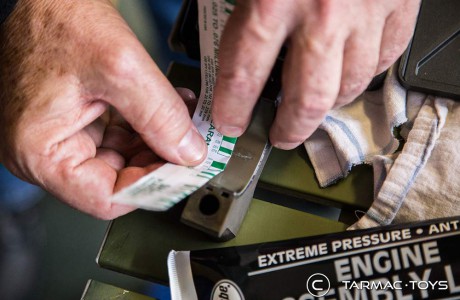
- Test with Plasti-gague


-
- Just tap it in..

-
- The replacement engine